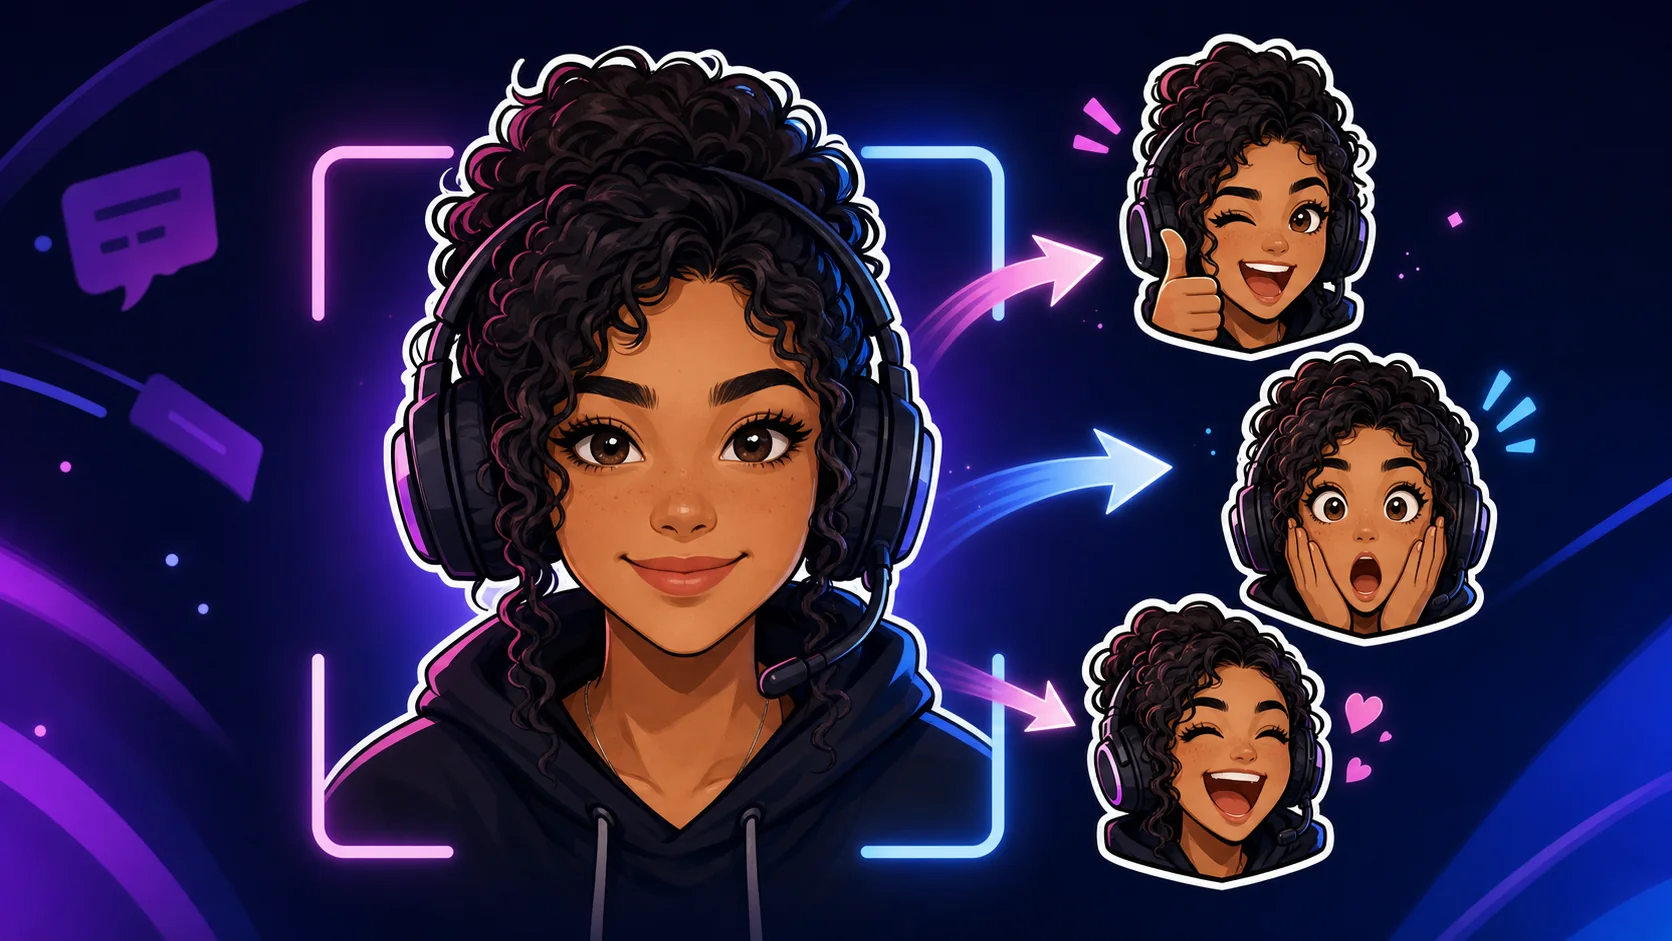
How to Turn Your Face Into Twitch Emotes for Free
Turn a clear selfie or facecam frame into readable Twitch reactions with a tight crop, clean background, and free animation workflow.
Short answer
Start with a bright, front-facing photo you own, crop tightly around one clear expression, remove the background, and simplify the result until it still reads at 28×28 pixels. Make one useful reaction before building a pack. Use MakeEmoji's free Twitch emote tools to test the crop, export a square image, and add animation only after the static face works in chat.
Last reviewed: 2026-08-02
A face emote succeeds when viewers recognize the reaction before they study the artwork. Your camera, phone, or stream archive can supply the raw material; the real work is choosing a moment with a strong silhouette and removing everything that competes with the eyes, mouth, and gesture.
You do not need to buy a full commissioned pack to learn whether face emotes fit your channel. Build one free proof first, test it at actual chat size on both dark and light backgrounds, and expand only when viewers can name the reaction without being prompted.
Choose a face photo that can survive 28 pixels
Use a source you created or have permission to use. A recent phone photo is often better than a dramatic stream screenshot because it can provide cleaner light, fewer compression artifacts, and a larger face. Face the camera, keep both eyes visible, and leave a little room around hair, hands, or a headset so the crop does not amputate the expression.
Expression matters more than resolution once the source is reasonably sharp. A neutral headshot can become a profile image, but it rarely becomes a useful chat reaction. Shoot several deliberate versions of hype, laugh, shock, fail, and love. Exaggerate the eyebrows and mouth slightly; the downscaled result will feel less extreme than the full-size pose.
- Use even front or three-quarter lighting instead of colored monitor light across the face.
- Avoid motion blur, beauty filters, busy rooms, and hair that blends into the background.
- Frame the face large enough that the eyes remain distinct after a square crop.
- If a hand is part of the reaction, keep it close to the face rather than at the edge of the photo.
- Do not use another person's face without their clear permission.
Plan reactions around moments your chat already has
A useful first pack is a response system, not a gallery of flattering portraits. Review a few recent streams and note the moments when chat repeats the same words or existing global emotes. Those are candidates for your face pack because the behavior already exists.
Make the expressions visually different before changing colors or accessories. If hype, laugh, and love all use the same open-mouth smile, they will collapse into one idea at chat size. Distinct eye shapes, mouth shapes, head angles, and one simple prop create a clearer vocabulary.
| Reaction | Use it when | Readable visual cue |
|---|---|---|
| Hype | A clutch play or announcement lands | Raised brows, open smile, one upward gesture |
| Laugh | The stream goes off-script | Closed or crescent eyes with a wide laugh |
| Shock | A reveal or jump scare happens | Round eyes, small open mouth, hands near cheeks |
| Fail | A run ends or a plan backfires | Downward gaze, compressed mouth, slumped angle |
| Love | Chat supports a person or milestone | Warm smile with one bold heart-shaped accent |
Crop, clean, and simplify the face
Crop square with the expression near the visual center, not merely the mathematical center. The face should usually occupy most of the canvas. Remove the background cleanly, then inspect hair, headset cables, glasses, and fingers for halos. A thick light or dark outer stroke can separate the silhouette from chat, but it should not consume the small facial features.
Next, simplify. Increase local contrast around the eyes and mouth, remove tiny skin or clothing details that turn into noise, and choose one accent color from your channel palette. Keep a copy of the full-resolution source and perform destructive edits on a duplicate so you can revisit the crop later.
- Check the expression at 28×28, 56×56, and 112×112 pixels while you work.
- Preview on near-black and near-white backgrounds to find weak edges.
- Do not depend on small text; it will usually become illegible in chat.
- Use one bold outline treatment across the pack for consistency.
- Name exports by reaction and version so later revisions stay organized.
The recognition test
Show the 28-pixel preview to someone for two seconds without telling them its intended meaning. If they can identify both the person and the reaction, the design is ready for a real chat test. If they only see a face-shaped blur, simplify before adding animation.
Use Twitch's current upload paths
Twitch's current standard-emote guidance supports auto-resize and manual upload. Auto-resize accepts one square PNG between 112×112 and 4096×4096 pixels, under 1 MB, and creates the smaller versions. Manual mode uses separate 28×28, 56×56, and 112×112 files. Twitch asks for a fully transparent background and sharp art viewed at 100% resolution.
If you later animate the face, export GIF rather than video. Twitch's animated-emote rules allow one square 112–4096 pixel GIF up to 1 MB in auto-resize mode, or three manual GIFs at 28, 56, and 112 pixels up to 512 KB each. Animated GIFs may contain no more than 60 frames and must not flash or flicker more than three times in one second.
| Upload route | What to prepare | When to use it |
|---|---|---|
| Static auto-resize | One square transparent PNG, 112–4096 px, under 1 MB | Fastest first upload |
| Static manual | Matching transparent PNGs at 28, 56, and 112 px | You want hand-tuned small sizes |
| Animated auto-resize | One square GIF, 112–4096 px, up to 1 MB | Simple animation and easy sizing |
| Animated manual | Matching GIFs at 28, 56, and 112 px, each up to 512 KB | You need direct compression control |
Animate only the reaction that already works
Motion cannot rescue a face that is unreadable when still. First freeze the animation on its opening frame and verify that the emotion is obvious. Then try one motion verb: bounce for hype, shake for panic, nod for approval, or a restrained pulse for love. A short loop usually reads better than a miniature scene.
Keep the face inside the frame throughout the loop. Large spins, zooms, and slides may reveal empty pixels or shrink the important features. If the motion feels impressive at 400% zoom but disappears at 28 pixels, remove it or increase the timing contrast rather than stacking more effects.
A free face-to-emote workflow
Step 1
Pick one proven reaction
Choose a chat moment that already repeats on your stream, such as hype, shock, or a painful fail. Build one emote before planning a pack.
Step 2
Shoot or select the source
Use a sharp, well-lit face image you own. Favor a large expression, clear eyes, and a hand gesture that stays close to the face.
Step 3
Make a tight square crop
Fill the canvas with the face while preserving hair, headset, or the one gesture that explains the reaction.
Step 4
Remove the background
Clean edge halos and add a consistent outer stroke if the silhouette disappears against either light or dark chat.
Step 5
Preview at actual size
Inspect 28×28, 56×56, and 112×112 versions at 100% zoom. Ask someone to identify the reaction in two seconds.
Step 6
Export the free first version
Use the free Twitch emote maker for the square static proof. If it works, test a single restrained animation rather than rebuilding the art.
Step 7
Upload and watch real usage
Follow the current Twitch dashboard flow and policies. Let chat behavior, not compliments alone, decide which expression to make next.
Make your first version free
Turn your face into emotes for free
Start with one face image you own and one reaction your chat already needs. Make and preview the free proof before commissioning a pack or paying for more elaborate motion.
Turn your face into emotes for freeRelated MakeEmoji guides and tools
Sources checked
- Twitch Subscriber Emote Guide
- Twitch Emote Formatting and Upload Requirements
- Twitch Community Guidelines
Frequently asked questions
Can I really make Twitch emotes from my face for free?
Yes. Start with a photo you own, make one clean square crop, and use MakeEmoji's free Twitch tools for the first static or simple animated proof. Optional paid art or animation can come later if real chat use justifies it.
What is the best photo for a face emote?
Use a sharp front or three-quarter view with even light, a deliberately exaggerated expression, visible eyes, and a simple background. A clear phone photo often beats a compressed stream screenshot.
Should I make the face realistic or illustrated?
Either can work. Realistic cutouts preserve instant recognition; illustrated versions can simplify edges and unify a pack. Judge the result at 28×28 pixels, not by how polished it looks when enlarged.
Do I need three Twitch emote sizes?
Not always. Twitch auto-resize can take one qualifying square file and create smaller sizes. Manual mode lets you provide 28×28, 56×56, and 112×112 files when you want to tune each rendering yourself.
Can I use a stream screenshot instead of a photo?
Yes, if you own or have permission to use everything important in the image. Choose a sharp frame without overlays, licensed media, other people, or background details that create rights or readability problems.
How many face emotes should I make first?
Make one. If viewers recognize and use it, add a small core set such as hype, laugh, shock, fail, and love. That evidence is more useful than producing ten untested expressions at once.
