Turn Your Mascot into a Halloween Emote: 6 Costume Examples
Compare six Halloween costumes on one cat mascot, write a clear costume prompt, and prepare readable emotes for Twitch and Discord.
Give your mascot one clear Halloween costume, then check it at chat size before you make the rest of the set. A witch hat, vampire collar, or pair of neck bolts can carry the theme without hiding the face that your community knows.
Below, one cat source becomes six costume examples. Use the same method with your own original mascot in AI Studio. Start with a static image. Add motion only after the costume and face remain clear in a small preview.
One source, six costume directions
These are existing MakeEmoji Super Emoji preset outputs at Standard quality. They are not results of the custom prompts below. The prompts are suggested starting points that we have not run for this article. The examples show useful choices and problems to look for, including small faces, too much detail, and weak contrast.
Each original is an 816 × 816 PNG. Their file sizes are too large for direct Discord custom emoji uploads. Use them as design references; crop and export your own result for its destination before uploading. The large preview in each card uses the existing 96-pixel product thumbnail. Beside it, the same thumbnail is displayed at 32 pixels.

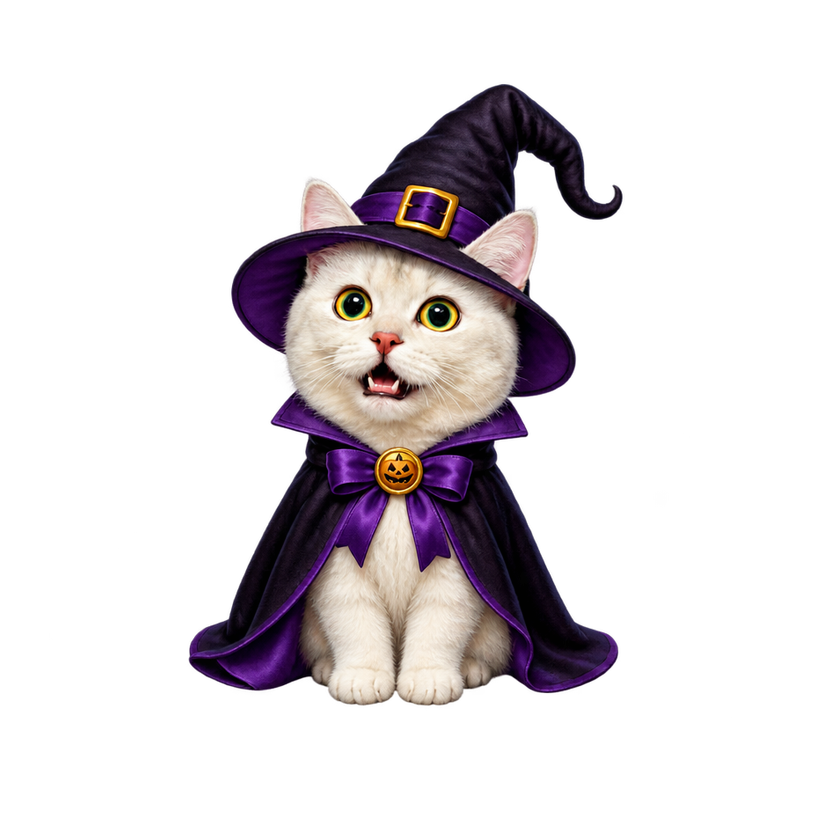
The purple hat makes the costume clear. The full body leaves less space for the face, so a closer crop can help in chat.
Open original PNG (512,936 bytes)
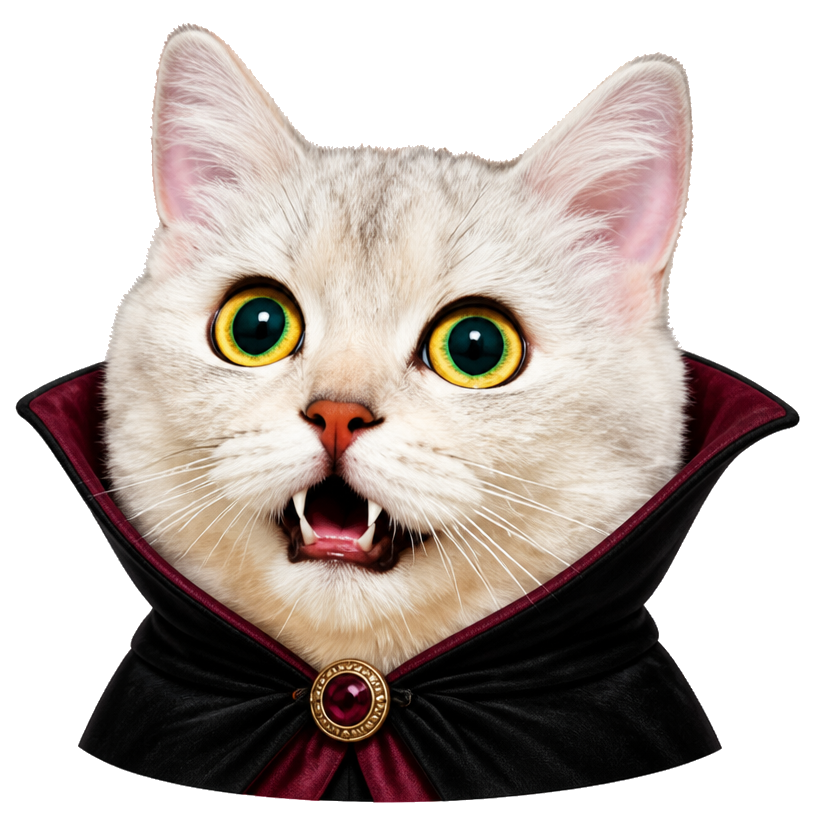
The red collar and small fangs keep the face large. This is a useful reference for a costume that needs very few extra parts.
Open original PNG (1,008,767 bytes)
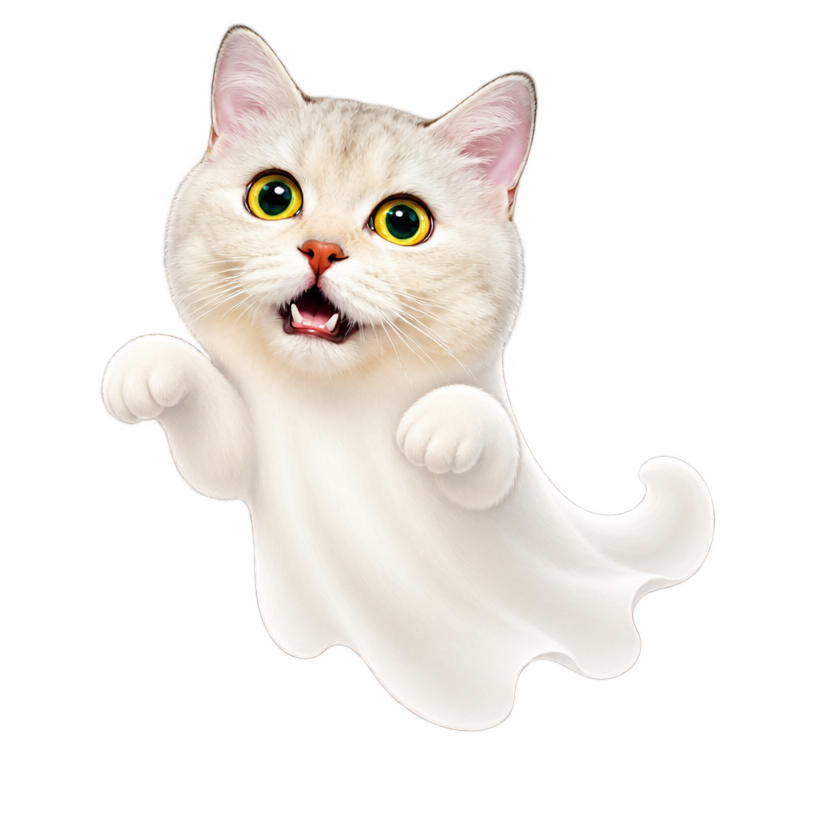
The pale floating shape reads as a ghost, but its glow loses contrast on light chat backgrounds. Check both backgrounds before export.
Open original PNG (1,089,069 bytes)
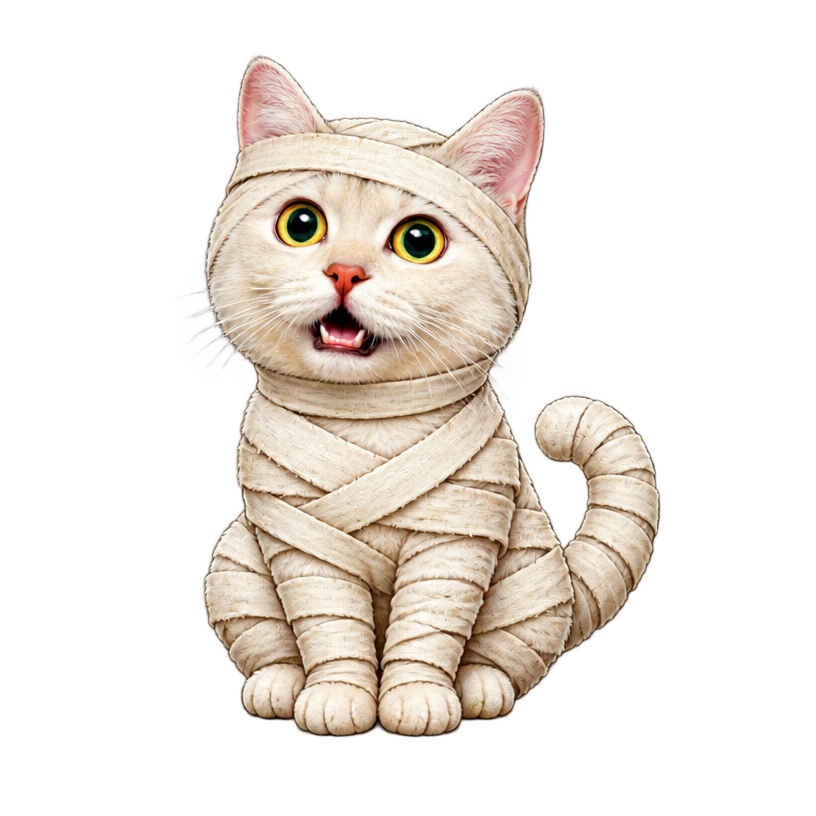
The wraps identify the costume. At 32 pixels, the many small wrap lines compete with the face; ask for fewer, wider bands.
Open original PNG (1,267,487 bytes)
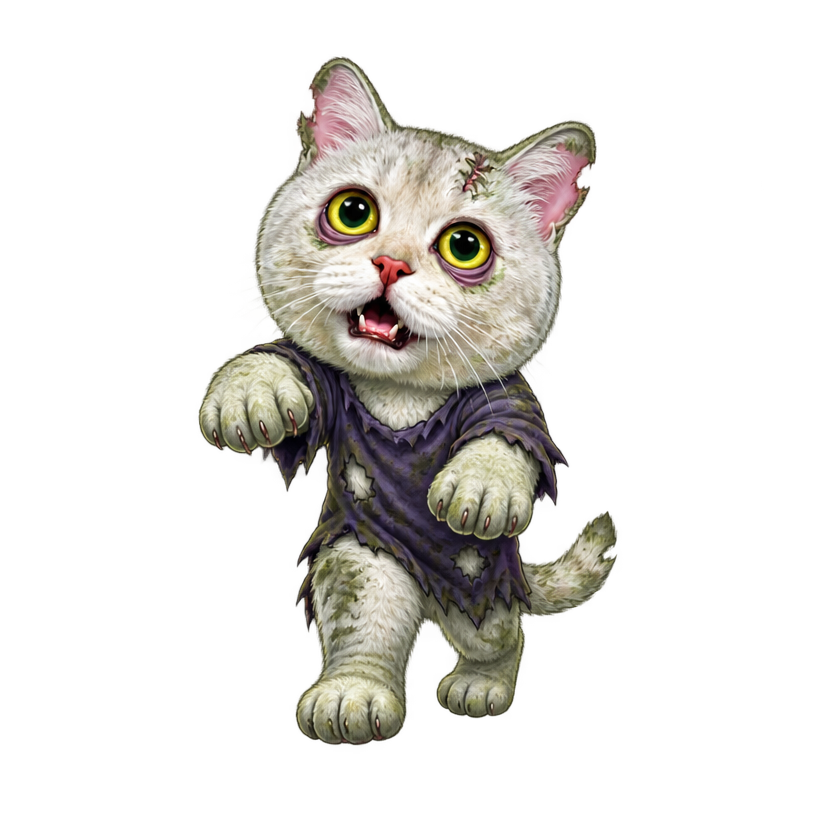
The green tint and purple shirt establish the theme. The small hands and body need a tighter crop if the reaction depends on the eyes.
Open original PNG (1,145,710 bytes)
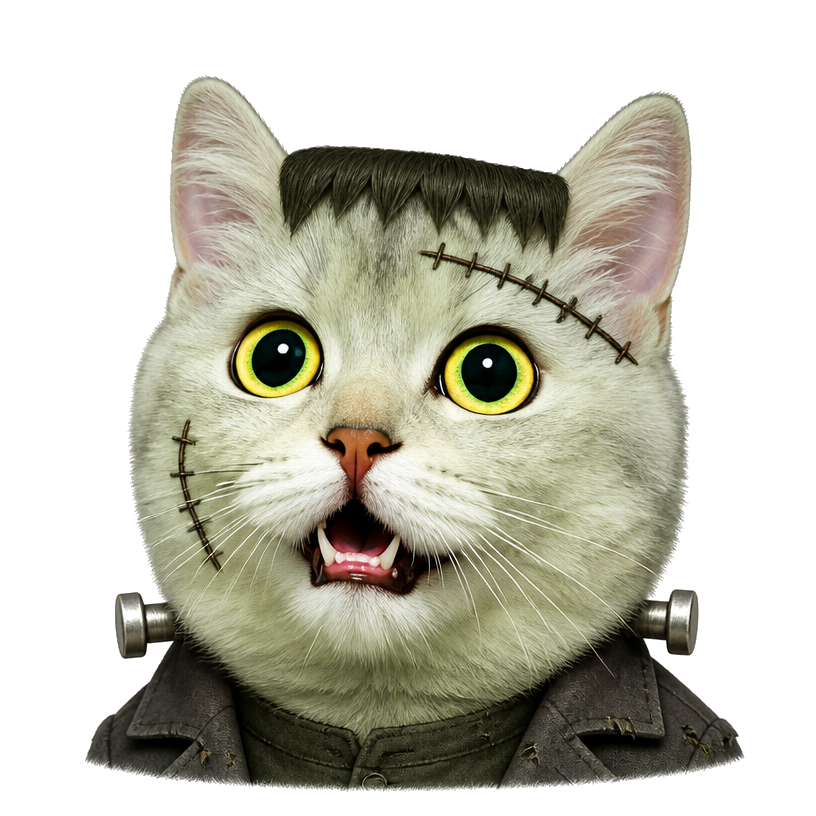
The flat hair, stitch, and neck bolts remain separate from the eyes. Keep those few costume cues instead of adding a laboratory scene.
Open original PNG (1,035,499 bytes)Prepare one mascot reference
Use a source with a clear face, a simple outline, and enough space above the head for a hat. Keep an unchanged copy. Use this same source for each costume so an error from one generation does not become the reference for the next.
Write down the features that must remain: for example, blue ears, round glasses, two yellow eyes, or a square robot head. Request those features in every prompt. A costume can change clothing and props, but it should not replace the subject.
Create the first costume in Studio
- Open AI Studio and select Static under output type.
- Under Source images, select Add an image and choose your mascot. Use the pencil control on its thumbnail if you need to adjust the crop.
- In Text prompt, enter the shared instruction below, followed by one costume instruction.
- Select Standard for a first draft. Read the credit total beside the creation control, then select Create static emoji.
- When the result is ready, select Download. Check the face, costume edges, and small preview before you create another version.
Use the uploaded mascot as the required source. Keep its face shape, eye color, and main identifying features. Show one subject with a clear expression. Use bold shapes and a transparent background. Do not add words or scenery. Keep the entire costume inside the square.
Add one of these costume instructions to that shared instruction. Replace the generic identity details with the features of your own mascot. These prompts are starting points; inspect each result instead of assuming it will match the examples.
Witch prompt
Add one purple witch hat and a short matching cape. Keep both eyes visible. Frame the head and shoulders; keep the hat inside the square.
Vampire prompt
Add a dark red vampire collar and two small fangs. Keep the source eye color and face shape. Use a close portrait with no castle or scenery.
Ghost prompt
Turn the body into a simple friendly ghost shape while preserving the source face. Add a clear dark outer edge. Avoid fog, glow, or scenery.
Mummy prompt
Add a few broad cream mummy wraps around the head and shoulders. Leave the eyes and mouth uncovered. Avoid small fabric texture and loose strands.
Zombie prompt
Give the mascot a friendly zombie costume with a muted green tint and a torn purple collar. Preserve the eye shape. Keep it playful, with no gore.
Frankenstein monster prompt
Add a flat dark hair shape, one simple forehead stitch, and two small neck bolts. Keep the mascot face recognizable. Use a close, friendly portrait.
Plan the credits before you make six versions
Studio image creation uses credits. Standard currently costs 1 credit for an 816-pixel image; High costs 3 for 1024 pixels; Ultra costs 5 for 2048 pixels. One static result for each of six costumes therefore costs 6, 18, or 30 credits at those levels, before additional attempts. These are the product settings checked on September 20, 2026. Check the displayed cost when you create.
You can use credit packs or earned credits; a Pro subscription is not required. See current credit options. Finish one costume first. If the face changes or the crop is wrong, correct that instruction before you pay for the other five.
Finish the set for real chat
Upload the chosen static image to the free editor. Use Edit Image to remove excess space and check the background. Select the destination in Platform, then inspect the static output at its actual size. The small and blurry emoji guide shows why a closer crop often helps more than a larger source file.
If you want motion, try one of the free editor effects on the finished image, or use Studio's Animated output for a separate credit job. Keep the hat and face inside the frame during the whole loop. Name the files consistently, such as orbit_witch and orbit_vampire, then upload one sample before preparing the full set.
For a ready-made option, use the Halloween Discord emoji downloads. For the exact source paths and file measurements used here, open the example record.