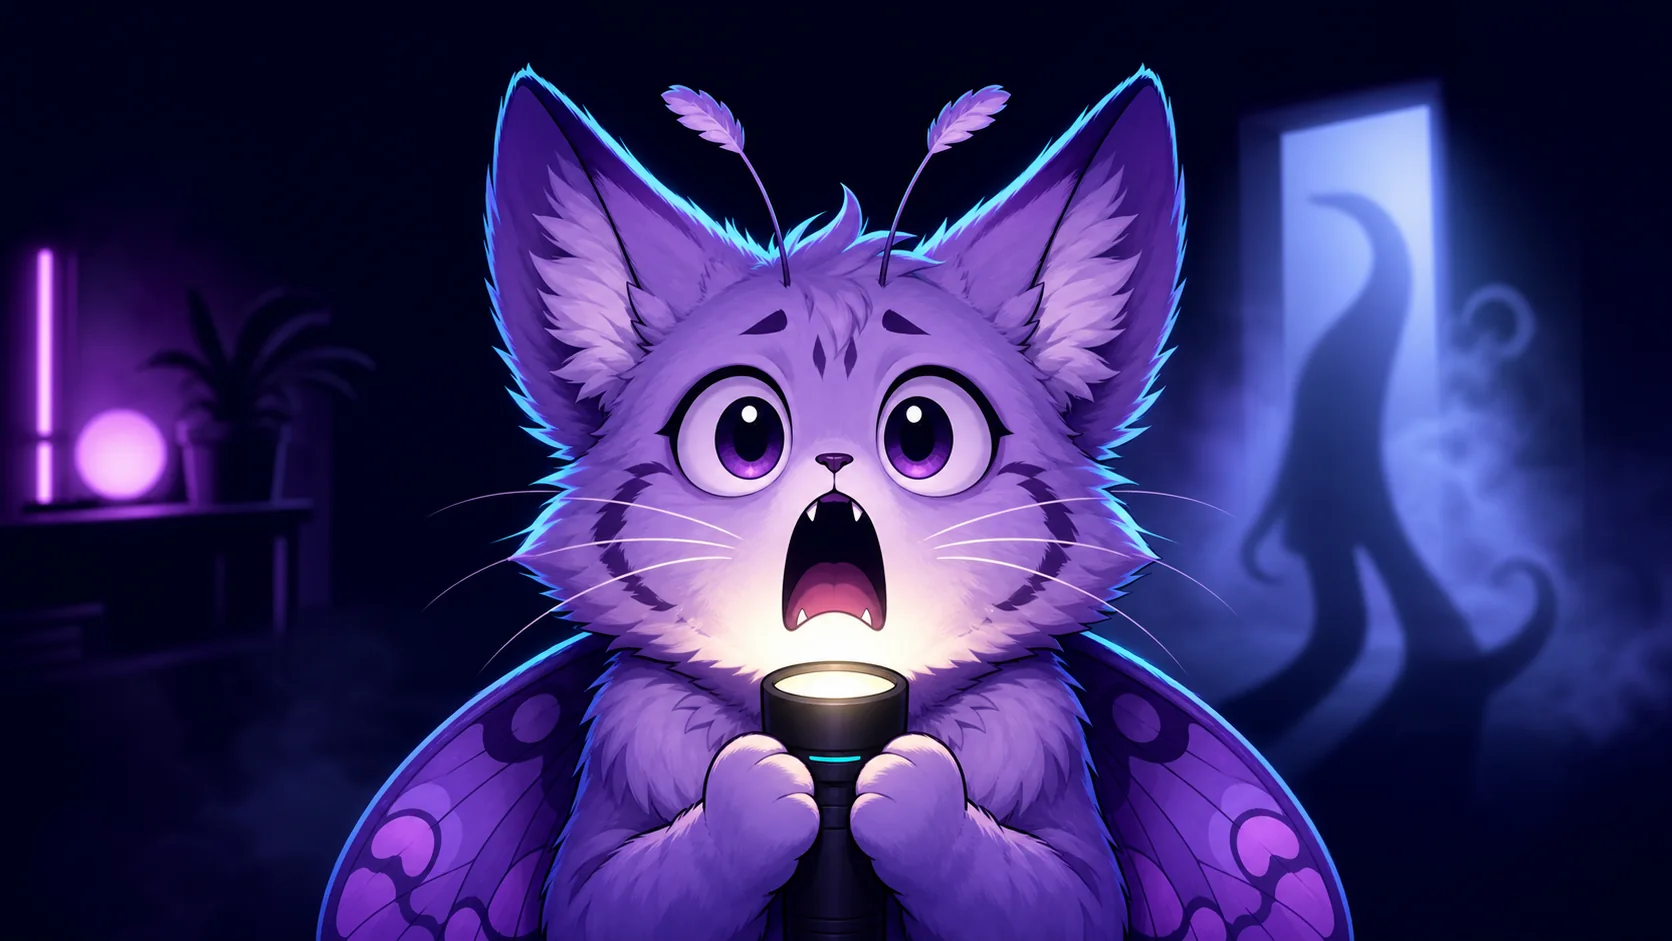
Horror Streamer Emote Ideas: Scream, Scared, Jumpscare, and RIP
Create expressive horror-stream emotes for tension, scares, suspicious moments, brave chatters, comic defeat, and post-jumpscare relief.
Short answer
A strong horror streamer pack separates suspense from impact: Scared for the slow approach, Scream for the payoff, Jumpscare for the instant shock, and RIP for the failed escape. Use an original mascot, large eyes and mouth shapes, bright outlines, and playful spooky cues. Test every reaction at 28px before adding a subtle tremble or recoil.
Last reviewed: 2026-08-02
Horror streams have a built-in reaction ladder: unease, anticipation, shock, failure, and relief. An emote pack is clearer when it gives each stage its own face instead of making five versions of the same scream. That also gives chat something to use during quiet exploration, not only after a jumpscare.
The theme can feel spooky without borrowing a monster, mask, logo, or scene from the game on screen. Your original mascot becomes the connective tissue across every title you play.
Horror reaction map: suspense is not the same as shock
Build a visible intensity ladder. Change the pose and eye shape as the tension rises so viewers can tell Scared, Scream, and Jumpscare apart even when the code is hidden.
| Emote | Visual direction | Best chat moment | Pack priority |
|---|---|---|---|
| Scared | Wide eyes, tucked shoulders, flashlight close to face | Entering a dark room or hearing an uncertain sound | Core: build first |
| Scream | Open mouth, lifted ears, hands framing the face | A threat appears or the streamer reacts loudly | Core: big payoff |
| Jumpscare | Sharp recoil, offset pupils, burst-shaped outline | The exact instant an unexpected scare lands | Core if sudden scares recur |
| RIP | Slumped mascot, flat eyes, small ghostly wisp | A failed escape, lost run, or immediate retry | Core for game-over beats |
| Nope | Turned-away pose, one raised palm, pinched expression | Chat wants the streamer to leave or avoid the door | Second wave |
| Safe | Relieved smile, lowered flashlight, soft exhale curl | The chase ends or a safe room finally appears | Balance the intense faces |
Prioritize a horror pack that covers the whole scene
Start with Scared because it works through long stretches of anticipation. Add Scream for the loud payoff and RIP for failed attempts. Jumpscare belongs in the core only when sudden shocks are genuinely common in your streams; otherwise, a broadly useful Nope or Safe reaction may earn the slot first. This order creates options before, during, and after the scare.
- Foundation: Scared, Scream, RIP.
- For jumpscare-heavy channels: add Jumpscare fourth.
- For slower psychological horror: add Nope or Watch instead.
- For community warmth: use Safe or Relief to reset the mood.
- Save title-specific creatures and props for artwork you own or are licensed to use.
Make intensity visible
Scared leans inward, Scream expands, and Jumpscare recoils. Those three different body shapes communicate more than changing only the mouth on one identical portrait.
Make spooky expressions readable at 28px
Dark-on-dark horror art often looks atmospheric at full size and disappears in chat. Put the darkness in the backdrop, not across the mascot's essential features. Preserve bright eye whites, a clean mouth shape, and a light outer edge. At 28px, one flashlight glow or shadow is enough; a detailed haunted room becomes visual noise.
- Let the eyes and mouth occupy most of the square crop.
- Use a pale rim or saturated outline against Twitch's dark chat surface.
- Give Scared rounded shapes and Jumpscare sharp, displaced shapes.
- Keep props large and generic: one flashlight, blanket edge, or doorway shadow.
- Check that RIP reads as comic failure rather than graphic injury.
Use restrained horror animation
A two-beat motion can carry the joke: a slow tremble for Scared, a single backward pop for Jumpscare, or a tiny wisp rising from RIP. Keep the central eyes and mouth visible throughout the loop. Repeated strobing, fast full-frame flashes, and complicated camera shakes reduce legibility and can be uncomfortable for viewers.
The first frame matters because it may appear as the default thumbnail for an animated emote. Choose a pose that already communicates the reaction, then use motion as emphasis. Review Twitch's current animated-emote rules before exporting because format and upload requirements can change.
One scare, one movement
Pick a tremble, recoil, blink, or wisp. Combining all four in a tiny loop usually makes the expression harder to follow.
Create horror flavor without copying a franchise
Use your own face or mascot and generic cues such as mist, a doorway, an old key shape, moonlight, or a long abstract shadow. Do not trace a game's monster, recreate a film villain's mask, reproduce cover art, or place a publisher logo in the emote unless you have the necessary rights. Original channel colors and recurring reactions travel better across a horror variety schedule anyway.
A practical horror emote workflow
Step 1
Map the scare sequence
Write down what chat does while approaching danger, when the scare lands, after a failed escape, and when the streamer reaches safety. Pick one reaction for each useful stage.
Step 2
Draw one mascot at five intensities
Sketch Scared, Scream, Jumpscare, RIP, and Safe side by side. Make the posture grow or collapse so the set does not depend on subtle facial differences.
Step 3
Simplify the core static pack
Build Scared, Scream, and RIP first in the free Twitch emote maker. Remove background objects until each reaction is clear in a square crop.
Step 4
Test the tiny intensity ladder
Preview at 28px without labels. Ask a moderator to order the faces from uneasy to shocked; revise any pair that looks interchangeable.
Step 5
Animate only the payoff
Add a short tremble or recoil to one proven still, inspect the default first frame, and recheck Twitch's current content and animated-emote requirements before upload.
Make your first version free
Make a free horror emote
Start with one original Scared, Scream, or RIP face. Get the expression and outline working at chat size before building a full animated horror pack.
Make a free horror emoteRelated MakeEmoji guides and tools
Sources checked
- Twitch: Emote Guidelines and formatting requirements
- Twitch: Animated Emotes
- Twitch Safety Center: Community Guidelines
Frequently asked questions
Which horror streamer emotes should I make first?
Start with Scared, Scream, and RIP. They cover anticipation, impact, and failure. Add Jumpscare if sudden shocks recur often, or choose Nope for slower suspense-heavy streams.
What is the difference between Scared and Jumpscare?
Scared is sustained anticipation: tucked pose, wide eyes, steady flashlight. Jumpscare is a single instant: sharp recoil, displaced pupils, and an abrupt outline. Their silhouettes should not match.
Can I use a monster from the horror game I stream?
Only if you own the artwork or have permission for that use. A safer creative direction is your original mascot reacting to a generic shadow, doorway, mist, or flashlight glow.
Does a horror RIP emote need a tombstone or gore?
No. Flat eyes, a slumped pose, a fading glow, or a small wisp can communicate comic failure without injury, blood, or a detailed death scene.
Which horror emote should be animated?
Scared and Jumpscare benefit most from timing. Try one controlled tremble or recoil, keep the first frame readable, and avoid strobing or rapid full-frame flashes.