Add Your Logo over an Animated GIF
Build a transparent full-canvas logo overlay and export a real animated GIF with MakeEmoji's fixed gallery layout. Includes source files and measured output.
To put a logo over a moving GIF in MakeEmoji, upload the GIF to the Animation Gallery Creator, then add a transparent PNG with Upload Overlay. Prepare the PNG at the full output-canvas size, with the logo already in the desired position. The tool places the overlay across the whole canvas; it does not provide a draggable logo layer.
This guide uses one existing MakeEmoji cat animation and an original M-shaped sample mark. We exported the result through the actual tool in Chromium. The example shows the fixed layout, the real output, and the files you need to repeat it.
See the source, overlay, and result
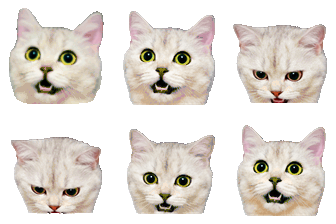

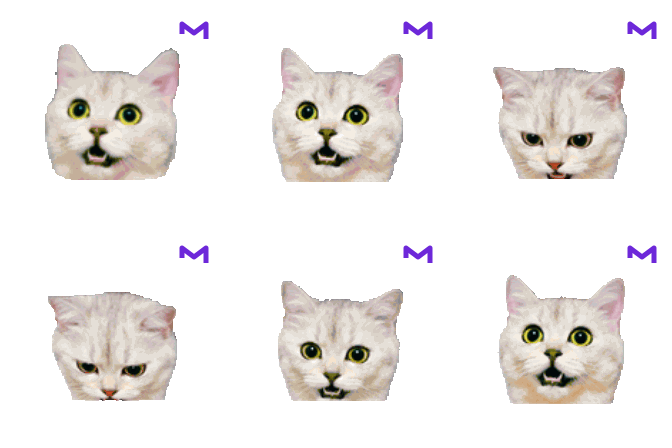
Download the finished GIF, overlay PNG, and editable overlay source. The output is 224 × 224 pixels, 13 frames, 1.04 seconds, and 95,523 bytes. Its loop count is zero, which means continuous looping in the GIF metadata. The measurements and browser record describe the check.
Prepare the logo in a full-size transparent image
For this single-source composition, the gallery places the animation inside a 160-pixel square and adds 32 pixels of outer padding. The output is therefore 224 pixels square. Our PNG uses exactly that canvas. The mark is a white circle near the top-right corner with a purple M-shaped line inside it. The rest of the PNG is transparent.
The empty pixels are intentional. They determine the position of the mark when the entire overlay is drawn. If you crop the PNG tightly around the circle, the tool will enlarge that small image to cover the gallery canvas. The logo can then fill or obscure the animation. Keep the full canvas when you save the overlay.
Use a simple mark with enough contrast to survive the final size. A long wordmark can become unreadable on a small GIF. An opaque white badge behind a dark logo can help it remain clear on both transparent and dark areas, but check that the badge does not cover the reaction’s face.
Build the composition in the tool
- Open Animation Gallery Creator and upload the source GIF under Source Images.
- Wait for the moving preview and the source dimensions and frame count.
- Select Upload Overlay and choose the full-canvas transparent PNG.
- Watch a complete loop. Check the logo against the highest and widest positions of the subject.
- Select Export GIF, save the file, and open the saved download.
The overlay appears above all source images. An optional background appears behind them. Both use a cover-style fit, so an image with a different aspect ratio can be cropped. Match the full canvas’s shape when you need exact placement. There is no position, scale, or rotation control for a separate logo inside this tool.
If you add more GIFs, the gallery layout changes. It arranges up to four source tiles per row and centers shorter rows. Rebuild your overlay for the new overall dimensions. The animated collage guide explains how source order and the fixed tile layout affect that result.
Check what the export changed
Our source and result both contain 13 frames at 80 milliseconds each. The source image is enlarged into the gallery tile, the canvas adds padding, and the GIF receives a new palette during export. Those changes mean the result is not a byte-for-byte copy of the original with metadata added. Recheck fine lines, transparency, and brand colors in the saved file.
For another source, compare its duration and motion with the result rather than assuming every timeline is preserved exactly. A logo can also make a loop’s jump easier to notice because it gives the eye a stationary reference. If the subject jumps, inspect the source before moving the logo to hide it.
Prepare the final destination separately
The gallery output is useful as a branded reaction or a small promotional animation. It still needs to meet the destination’s dimensions, file size, and access rules. Use the platform resizer if you need another upload size, then check the logo again at that reduced size.
Keep the editable overlay and the unbranded original. If the mark has an unwanted white rectangle, fix that source first with the logo background guide. A transparent overlay gives you a reusable template; it does not grant rights to place someone else’s logo on an animation.