A transparent background is what separates a professional emoji from something that looks like you just cropped a screenshot in MS Paint. Solid white or colored backgrounds make emojis look amateur and clash with Discord's dark mode or Slack's interface. The good news is AI tools have gotten incredibly accurate at removing backgrounds automatically. The bad news is they still mess up on complex images, and you need to know how to fix it. Or you can use MakeEmoji, which generates emojis with perfect transparent backgrounds automatically—no manual removal needed.
Skip background removal entirely: AI emoji generation
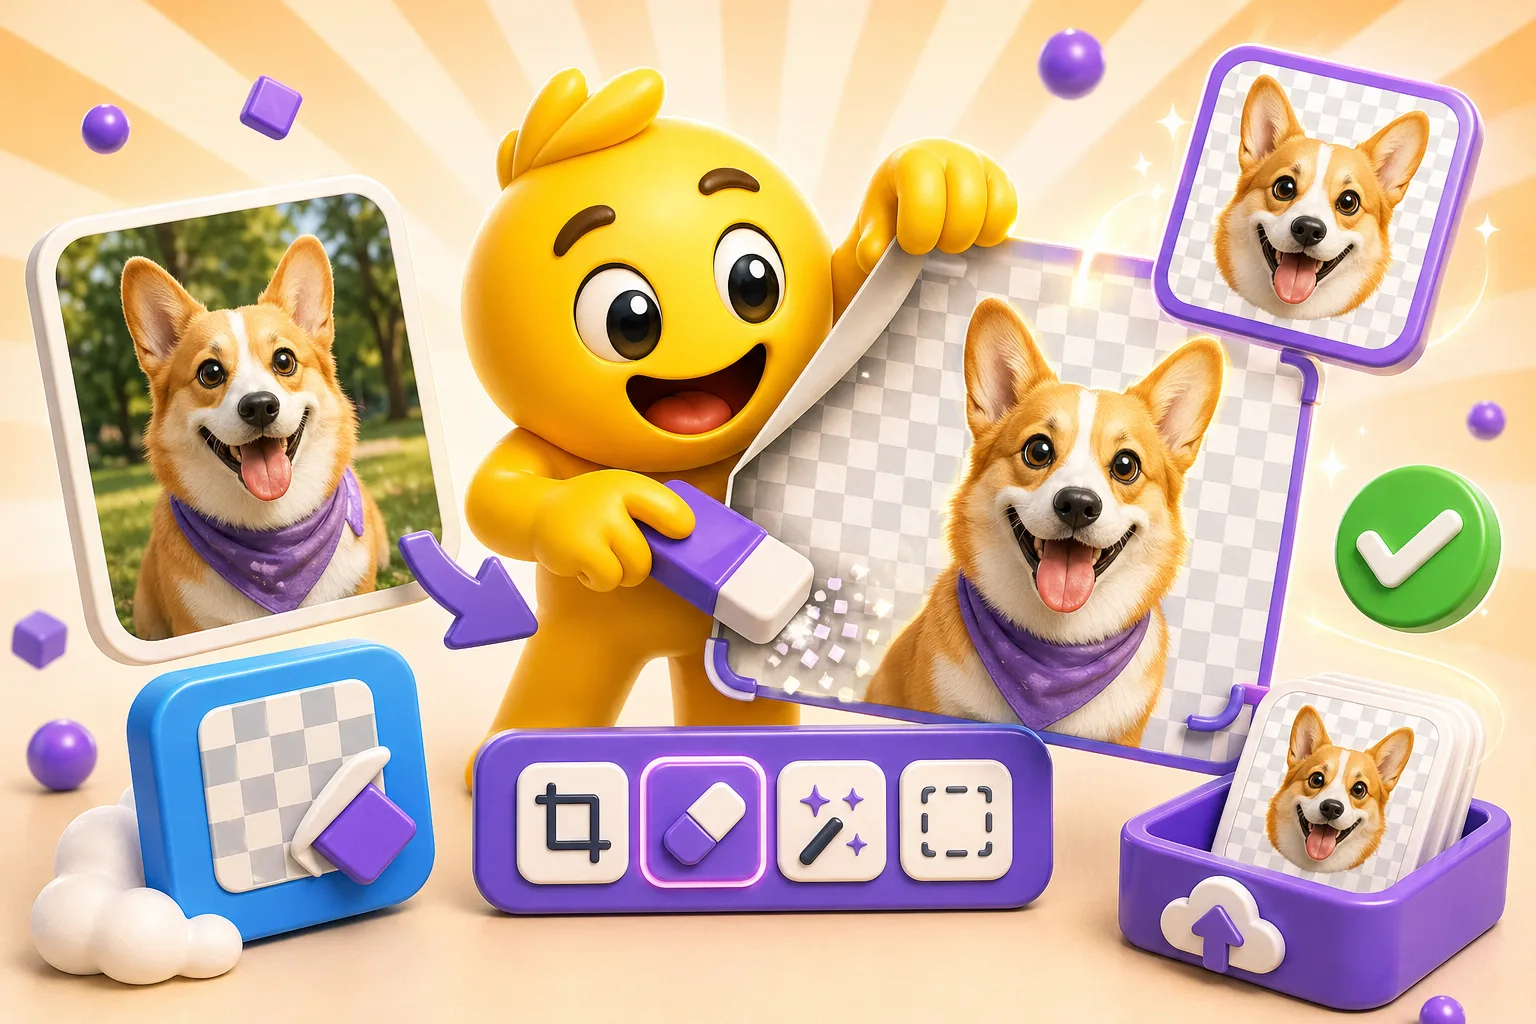
MakeEmoji generates custom animated emojis with perfect transparent backgrounds built-in. No background removal step needed—every emoji comes with a clean transparent background optimized for Discord, Slack, and Twitch. Just describe what you want ("happy dancing cat" or "celebrating with fireworks"), and MakeEmoji handles the entire creation process including background transparency. This eliminates the most common frustration with emoji creation: getting clean edges without fringing or halos.
The advantage is you never deal with background removal at all. If you're creating emojis from scratch, MakeEmoji generates them with transparency from the start. No need to learn Remove.bg, Photoshop masking, or edge refinement techniques. Perfect for creators who want professional results without mastering image editing software.
If you already have images you want to convert to emojis, you'll still need the tools below. But for new emoji creation, MakeEmoji's built-in transparency saves hours of work and eliminates the edge problems that plague manual background removal.
AI-powered background removal tools (for existing images)
Remove.bg is the standard for automatic background removal. Upload an image, get a transparent PNG instantly. The free version works for low-resolution images, which is actually fine for emojis since you're shrinking them to 128×128 anyway. The paid version ($9 for 40 credits or $25/month) gives you HD exports if you need them. It handles most subjects well—people, products, animals, simple objects. It struggles with transparent objects, ultra-fine details like individual hair strands, or complex overlapping elements.
The limitation with Remove.bg is you get what you get. There's no manual editing—if the AI makes a mistake, you either live with it or move to a different tool. For 80% of emoji images, it works perfectly in one click. For the other 20%, you'll need manual cleanup.
Photoshop's AI background removal (versions 2020 and newer) gives you the best of both worlds. One click to remove the background using AI, then you have full manual tools to refine any mistakes. Go to Select → Subject, then add a layer mask or delete the background. If the edges need work, use Select and Mask to refine them. This is the best option if you already have a Photoshop subscription.
Canva's background remover works fine but requires the Pro subscription at $12.99/month. One-click removal integrated into their editor. It's less accurate than Remove.bg on complex images, but if you're already designing your emoji in Canva, the convenience might be worth it. The integration is smooth—remove background, keep editing, export.
Manual tools (when AI fails or you need precision)
Sometimes AI tools completely butcher an image and manual selection is faster than trying five different automatic tools. Photoshop has three main approaches, each with tradeoffs. The Pen Tool is the slowest but most precise—you manually trace the exact edges of your subject by placing anchor points. It's tedious but gives you perfect control. Use this for geometric shapes or when you need absolutely clean edges.
The Quick Selection Tool or Magic Wand are faster for high-contrast images. Click on the subject and Photoshop expands the selection based on color similarity. Works great when your subject is clearly different from the background—like a dark object on white. Fails miserably when colors blend or there's low contrast. You'll spend more time fixing the selection than it would take to just use the pen tool.
The critical tool most people skip is Refine Edge (now called Select and Mask in newer versions). After making any selection, this is where you fix the edges. You can shift the edge inward or outward, smooth it, feather it, or adjust how it handles fine details like hair. This is non-negotiable for photos of people or animals—the initial selection is never perfect, and Refine Edge is where you make it actually usable.
GIMP is the free alternative if you can't afford Photoshop. It has the Fuzzy Select Tool (magic wand equivalent), Free Select for tracing, and Select by Color for uniform backgrounds. The UI is clunkier and less intuitive, but it's fully capable of professional results. Use layer masks for non-destructive editing so you can adjust the transparency later without starting over.
The edge problem that ruins most transparent images
You've removed the background, exported a PNG, uploaded it to Discord, and it looks terrible. There's a white or colored halo around your emoji that clashes with the background. This is leftover fringe from the original background, and it happens because the edges of your subject blend with the old background color.
In Photoshop, the fix is to contract your selection by 1-2 pixels before deleting the background. Go to Select → Modify → Contract, set it to 1 or 2 pixels, then delete. This cuts slightly into your subject but removes the fringe. Alternatively, after removing the background, use Layer → Matting → Defringe and set it to 1-2 pixels. This analyzes the edge and removes color contamination.
When you zoom to 200-400%, you should inspect every edge. Are there leftover pixels from the old background? Is the edge too soft and blurry? Too hard and jagged? For cartoonish or illustrated emojis, hard edges usually look better. For photorealistic emojis, a slight soft edge prevents pixelation but go too soft and it looks blurry at emoji size.
A trick that saves a lot of headache: add a 1-2 pixel stroke or outline around your emoji. This hides minor edge imperfections and helps the emoji stand out on any background color. In Photoshop, add a stroke layer style. Pick a color that complements your emoji—usually a darker version of the main color or a neutral gray. Test it on both Discord's dark mode and light mode to make sure it works on both.
Handling complex edges (hair, fur, transparent objects)
Hair and fur are where automatic tools often completely fail. You get a weird cut-off line where individual strands should be, or the whole edge looks chunky and unnatural. Photoshop's Select and Mask workspace is built for this. After selecting your subject, open Select and Mask, then use the Refine Edge Brush to paint over hair areas. Photoshop analyzes those areas differently and tries to preserve fine details.
Adjust the edge detection sliders—shift edge inward to remove background contamination, shift outward to include more fine detail. Smooth reduces jaggedness, feather softens the edge. There's no perfect formula—you adjust until it looks right. Preview on both black and white backgrounds to catch issues.
Sometimes it's easier to add a subtle glow or outline than try to perfectly extract every hair. If you're making a cartoon-style emoji, you don't need photorealistic hair separation. A slight glow effect that extends past the rough hair edge looks fine at emoji size and takes 30 seconds instead of 20 minutes of edge refinement.
Transparent or semi-transparent objects are brutal. Glass, water, smoke, fire—anything where you can see through it or it has gradual transparency. AI tools have no idea what to do with these. Manual selection with careful masking is your only option, and even then it's hard. Consider simplifying the design or using a solid version instead of trying to preserve transparency that won't be visible at emoji size anyway.
Image prep before you start
If you're taking or finding photos specifically to make emojis, image quality makes a huge difference in how easy background removal is. High contrast between your subject and background means automatic tools work way better. A person in a dark shirt against a white wall is trivial. A person in a beige shirt against a tan wall is a nightmare.
Even lighting matters too. Harsh shadows create fake edges that confuse selection tools. If you're shooting your own photos for emojis, use a solid color backdrop—white, green, or blue work well. You don't need a professional setup, just a sheet or poster board behind your subject.
Work at high resolution, then downscale. Don't try to remove the background from an already-tiny 128×128 pixel image—you're working at the pixel level and there's no detail to grab onto. Remove the background at 1000+ pixels if possible, then shrink to emoji size after. The downscaling actually helps hide minor edge imperfections.
Different image types need different approaches
Photos of simple objects—products, pets in clear lighting, objects with defined edges—just run them through Remove.bg or Photoshop's AI. It'll probably work perfectly in one click. Quick edge check, export, done.
Photos of people usually work well for the body, but hair needs manual refinement. Run the AI removal, then zoom into the hair areas and use Select and Mask to fix them. Check for color fringing around the whole edge—skin tones especially pick up background colors.
Illustrations or drawings with backgrounds depend on how they were made. If it's drawn on a solid white or colored background, use Select by Color—click the background, delete. If the illustration has anti-aliasing or gradients blending into the background, you'll need to manually trace or use AI removal. Sometimes it's faster to just redraw the character on a transparent canvas.
Screenshots from games or shows are often compressed and low quality, which makes removal harder. AI struggles with artifacting and pixelation. Manual selection is usually needed. Honestly, for game characters or anime screenshots, consider just redrawing or finding official PNG assets instead of trying to extract from a compressed screenshot.
Platform testing matters
Discord has both dark and light themes, and your emoji needs to work on both. An emoji that looks perfect on dark mode might have terrible contrast on light mode, or vice versa. Before you make ten more emojis, upload your first one to Discord and switch between themes. Some edges that look great on black backgrounds are nearly invisible on white.
Slack also has theme variations. Twitch displays emojis over various overlays and backgrounds during streams—sometimes over gameplay, sometimes over solid colors. If your emoji doesn't have enough contrast or a defining outline, it might disappear against certain backgrounds. Test it over your actual stream overlay or footage to see if it's readable.
Common mistakes and how to fix them
Not checking edges at 100% zoom is the most common mistake. You think the background is removed, but there are leftover pixels or fringing all around the edge that you didn't notice at fit-to-screen view. Zoom to 100% minimum, 200% for detail work, and check every edge.
Leaving white or colored fringe makes your emoji look like it still has a background. Use defringe, contract selection before deleting, or manually erase edge pixels. This one detail makes the difference between "professionally made" and "amateur hour."
Making edges too soft looks blurry at emoji size. A 2-3 pixel feather might look smooth at 1000×1000 pixels, but at 128×128 it just looks fuzzy. Keep edges relatively sharp for small formats. You can always add a tiny feather (0.5-1px) if needed, but don't overdo it.
Trying to preserve partial transparency in GIF format doesn't work. GIFs only support binary transparency—each pixel is either fully transparent or fully opaque. If your image has gradual transparency or semi-transparent areas, export as PNG for static emojis or APNG for animated (though APNG support is limited on some platforms). Most platforms handle PNG fine for static emojis.
Quick recommendations by situation
Complete beginner with a simple object photo? Use Remove.bg. Upload, download, done. If it works, you saved yourself hours of learning manual tools.
Photo of a person or pet? Start with Remove.bg or Photoshop AI, then do manual touch-up on hair and edges. The AI gets you 90% there, you spend 5 minutes finishing the last 10%.
Complex image that needs precision? Photoshop with manual refinement. Use the pen tool or quick selection, then spend time in Select and Mask getting edges perfect.
Zero budget? GIMP with manual tools. Steeper learning curve but completely free and fully capable.
Already working in a design tool? Use that tool's built-in background remover. The convenience of staying in one program often outweighs slightly better results from switching tools.
Need a perfect result fast and willing to pay? Remove.bg's HD option or Photoshop AI followed by quick manual cleanup. You're trading money for time, and for professional work, it's usually worth it.
Transparent backgrounds are non-negotiable for professional emojis. If you're creating new emojis, use MakeEmoji to generate custom animated emojis with perfect transparent backgrounds automatically →No background removal, no edge fringing, no manual cleanup—just describe what you want and get a ready-to-use emoji. For existing images, start with AI tools for speed, learn manual techniques for precision, and always check your edges at 100% zoom.
